Manage actions
The ADMIN > Actions page provides tools for creating and managing triggers, destinations, and rules. In addition, you can review the history of actions for any time range in your data retention period.
Note
For specific details about your organization’s data retention period, contact your Virtana Support representative by opening a support ticket.
Users assigned the Manager role can view the page and create and manage actions. The action service of the Virtana Service Observability API includes resources for creating and managing triggers, destinations, and rules.
Manage triggers, destinations, and rules
Each of the tabs on the ADMIN > Actions page displays a table. You can add, edit, and delete entries on the RULES, TRIGGERS, and DESTINATIONS tabs.
-
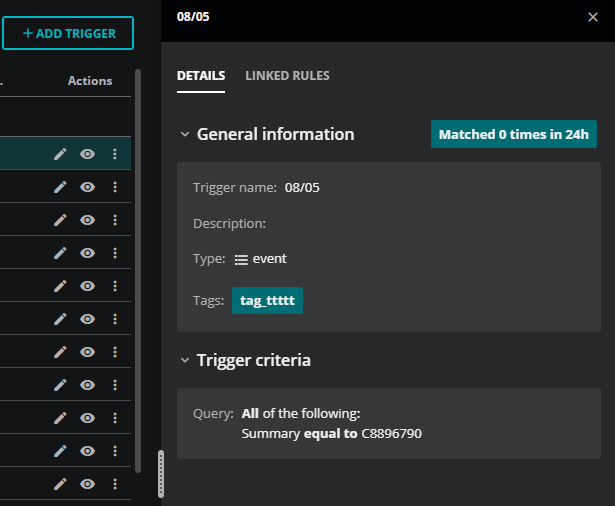
To view the specifications of an entry, select the eye icon in the Actions column.
-
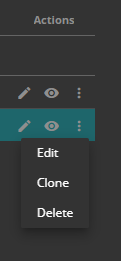
To clone, edit, or delete an entry, click the menu control (the vertical ellipsis (⋮) in the Actions column) and then select an option.
-
To filter entries, enter a search term at the top of a column.

-
To configure the rows per page and navigate the pages, use the controls at the bottom-right side of the page.

View action service history
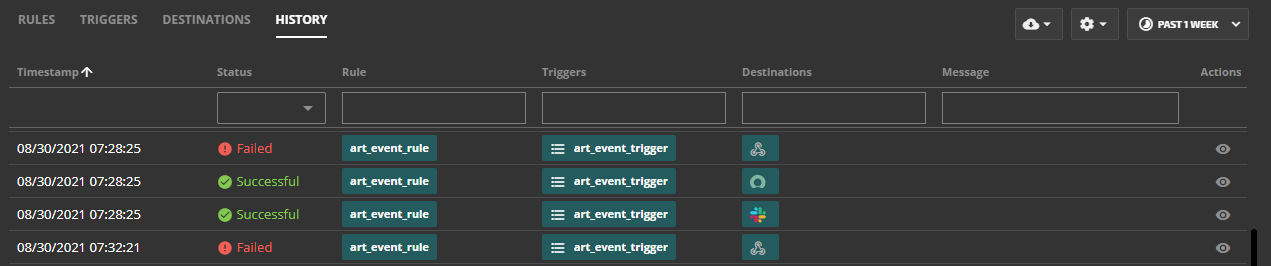
The HISTORY tab on the ADMIN > Actions page displays the activity log of the action service in a table. The default time range is the past 24 hours, but you can change it to any range within your data retention period.
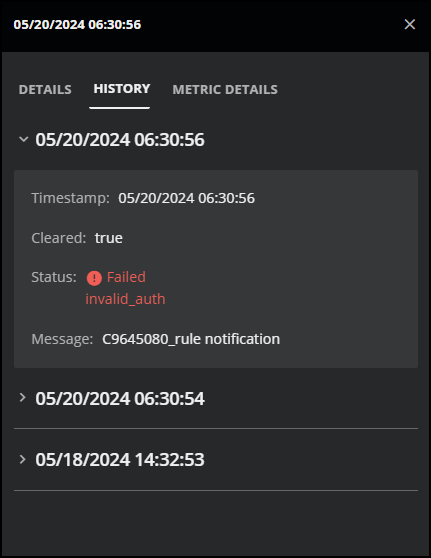
You can also drill down into the history of an action by opening that row's details panel. For example, if you don't receive an expected notification for an incident, you can find a record of the notification in the HISTORY tab on the details panel. You can view all attempts to deliver the notification, the times they occurred, whether they were successful, and if not, why they failed.
The HISTORY table is a read-only table, but you can perform a few tasks to help you troubleshoot issues:
- To view the details of an entry, select the History details (eye icon) in the Actions column.
- To drill down into the history of a specific action, select History details (eye icon) in the row of the action. In the panel that opens, click HISTORY. The history of the action is listed in reverse-chronological order. This detailed history is useful if you are troubleshooting an action.
- To filter history rows, enter a search term at the top of a column.
- To hide or reorder columns in the table, click Settings then select Adjust Columns.
- To configure the rows per page and navigate the pages, use the page buttons in the bottom-right side of the page.
Note
Entries can't be deleted.