Event management
In Event Management, you can manage your system’s event ingest by creating specific rules called event policies. Event policies provide more granular control of your incoming events, allowing you to handle more complex data formats, and helping you improve the accuracy and consistency of your event data.
You can use event policies to perform two common use cases: drop events that you don’t need or transform the formats of a specified set of events. Dropping irrelevant events can help you reduce noise and decrease your storage, which can result in lower costs and greater efficiency. Transforming incoming events into a better format can help you quickly locate and analyze events so you can take action.
Event Management provides an easy-to-use console where you can control the application of policies and stop the flow of specific policies as needed. You can also create multiple policies that are performed in the order in which you define them. For example, you can reorder policies configured for a specific datasource, changing the order in which they are applied.
Opening Event management
You can examine event policies from the following location:
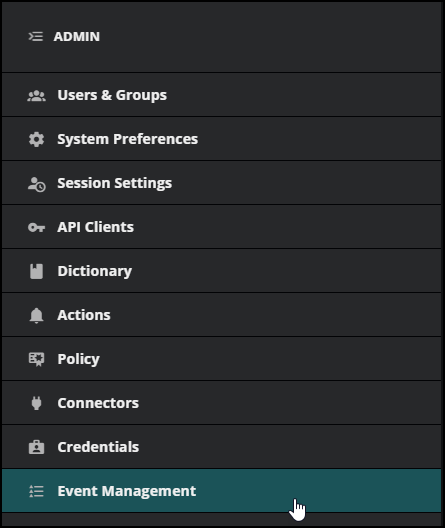
- The Virtana Service Observability header is visible on all tabs. In the header, click ADMIN, then Event Management.
Note
Your account must be assigned the Manager role to create and manage policies.
Viewing event policies
After you open Event Management, you can view your active event policies in the table.

There are several actions you can take when viewing and searching event policies:
View details
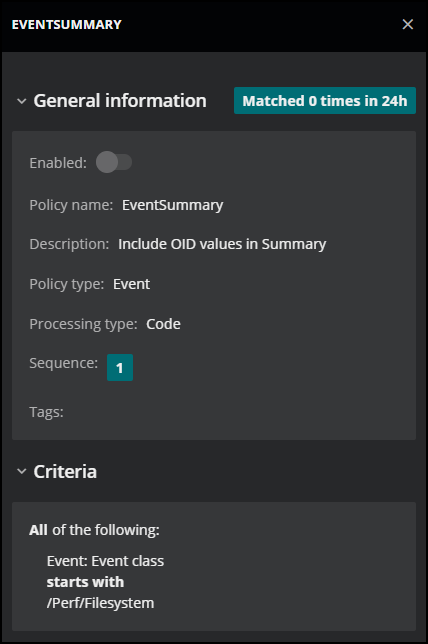
To view additional information about an event policy in the table, click Policy details (eye icon) in the Actions column for the row. In the details panel that opens, you can view more information. In additon, you can set the policy to active or inactive.
Hide or reorder columns
You can change how the properties appear in the table. To make changes, click Settings (gear icon), and then click Adjust columns in the menu. In the ADJUST COLUMNS dialog box that opens, you can select or clear the available columns, and change the order of the columns in the table.
To revert back to the initial layout, click Settings and then click Restore defaults.
Filter by column
If you have a lot of policies to view, you can filter policies by column.
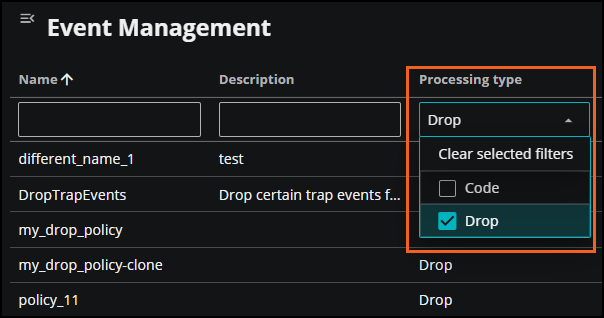
To filter the policies in the table, enter filter text in the column header. For example, if you want to just view your drop policies, click in the Processing type column and select Drop.
To remove filters from all columns, click Settings, then click Clear filters.
Sort rows
If you have a lot of policies to view, you can use the additional sorting options in the column. Click the menu next to the column name and do any of the following actions:
-
Sort the rows in ascending or descending alphabetical order, or clear any previously applied sort options.
-
Autosize the specified column or all the columns in the table, or choose to autosize all the column contents, but not the header.
Event transforms
Event management provides you with tools to modify events as they arrive in your system. You can append the summary or change values. For example, you can make the summary more informative, or change the severity value according to text within the summary.
When adding an event policy, you provide both the details of the policy and a query so the event can be applied to a targeted set of events.
To create an event policy to modify events, select a processing type of Code for the event policy. The Code Editor opens in the ADD EVENT POLICY dialog box where you can insert Javascript to change the format of an event when it arrives in your system.
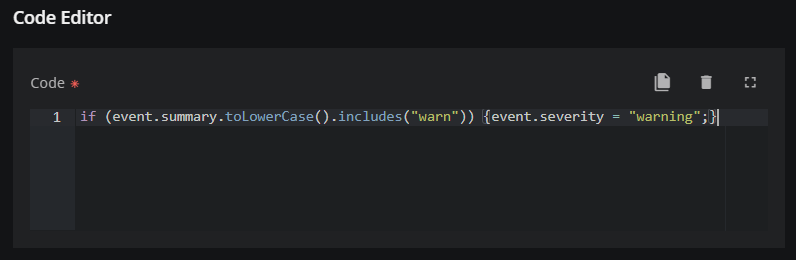
For example, you might want to change the severity level of specified events to warning if the text “warn” appears anywhere in the summary. If events don't have “warn” in the summary, you don't want to change their severity level. To satisfy this case, you can insert the following script:
if (event.summary.toLowerCase().includes("warn")) {event.severity = "warning";}
You can transform events to perform a wide range of operations, from altering the severity of certain events to altering nearly every field on an event, based on complex rules. However, you can't alter the following fields through event transformation. These fields are set after transformation has been performed:
- evid
- firstTime
- lastTime
- count
Note
You might have previously scripted event transformations in Collection Zones (CZ) which supports Python. The Code Editor for event policies in Virtana Service Observability supports Javascript only.
Code assistant
If you need help entering your Javascript code, Virtana provides a code assistant to help you get started. Click the Suggest (lightbulb icon) button to open our code assistant.
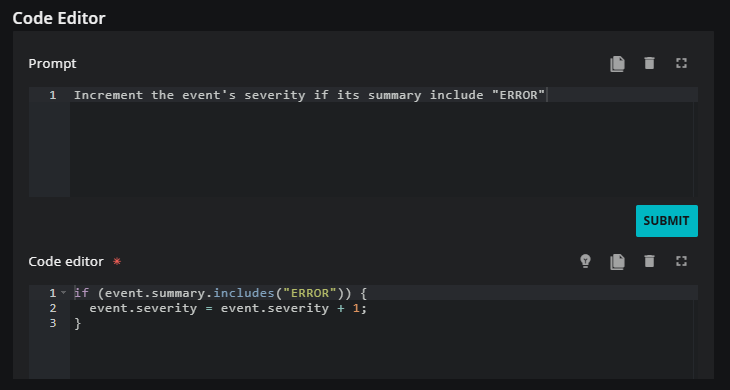
In the Prompt section, enter text in plain English that describes what you want to do. For example, you might want to change the severity and modify the summary. In this example, the prompt is:
Increment the event's severity if its summary includes "ERROR"
After you enter your prompt, click SUBMIT to view the resulting Javascript.
This assistant is designed to provide a starting place for your code. You might need to make adjustments to the initial prompt or the resulting code for it to work as expected.
Add an event policy
In Event Management, you can create a new event policy. You must be assigned the Manager role to create an event policy.
-
If you haven't already done so, open ADMIN > Event Management. The Event Management page opens.
-
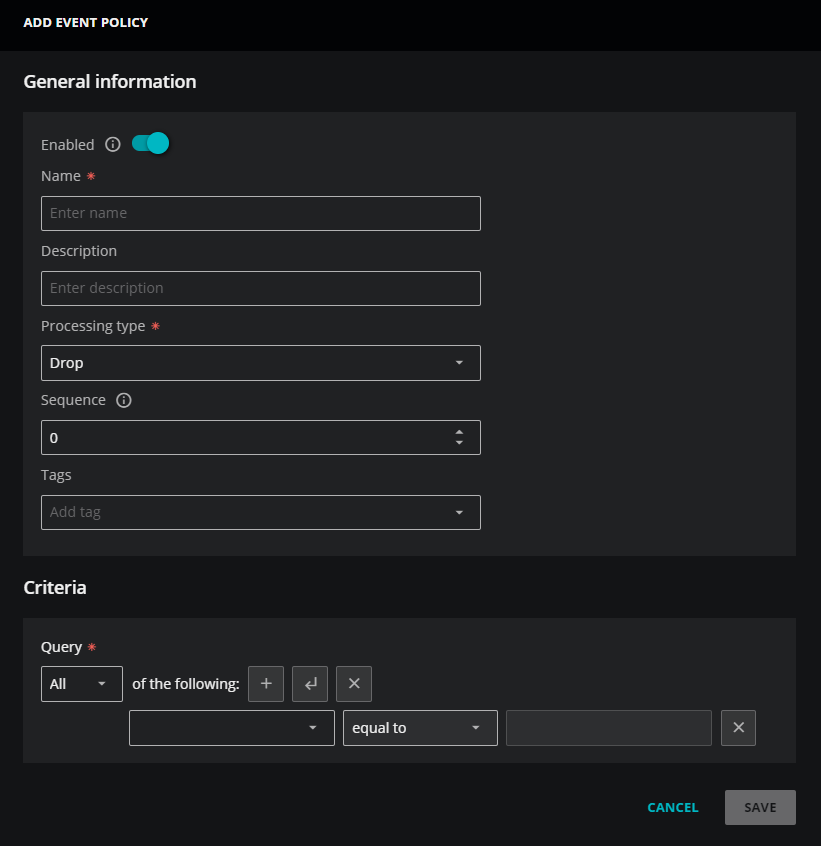
In the upper-right corner, click ADD EVENT POLICY. The ADD EVENT POLICY dialog box opens.
-
Set the Enabled option to activate the policy or deactivate it.
-
In the General information section, specify the event policy.
-
In the Name field, enter a name. Event policy names can't be changed after the ADD EVENT POLICY dialog box is saved.
-
(Optional) In the Description field, enter text to describe the event policy.
-
In the Processing Type field, select Drop or Code as the event policy type.
-
Drop: Select this option if you want to create a policy that drops events that you don't need. When enabled, the policy will drop all events that match the criteria specified in this policy.
-
Code: Select this option if you want to create a policy that transforms the format of an event by adding a script. For example, you might want to add information in the event summary or convert a value to a percentage. In the Code Editor section insert your Javascript code. See Event Transforms for more information.
-
-
In the Sequence field, select the order for the policy. When multiple policies match an item, the policies are applied in sequence order. If policies have the same sequence number, they are applied in alphabetical order by name.
-
(Optional) In the Tags field, add one or more terms to associate with the trigger.
-
-
In the Criteria section, create a query to identify specific events, entities, or parent entities for your event policy.
To learn more about building your query, see Criteria builder.
-
If you selected Code as the processing type, use the Code Editor to enter the required Javascript for the policy.
-
(Optional) If you need help entering your Javascript code, click Suggest (lightbulb icon) to open the code assistant.
-
In the Prompt section, enter text in English that describes what you want to do, for example:
Increment the event's severity if its summary includes "ERROR" -
Click SUBMIT to view the resulting Javascript.
Note
This assistant is designed to provide a starting place for your code. You might need to make adjustments to the initial prompt or the resulting code for it to work as expected.
-
-
Click SAVE.
Edit or clone an event policy
You can edit an existing event policy to change its details or criteria. You can also clone an existing policy.
-
To edit, click Edit (pencil icon) in the row containing the policy that you want to change. The EDIT EVENT POLICY dialog box opens. After making your changes, click SAVE.
-
To clone an existing policy, click More actions (vertical ellipse), and then select Clone in the row containing the policy that you want to copy. The EDIT EVENT POLICY dialog box opens. In the Name field, note that "-clone" is appended to the name of the existing policy. You can update the name or leave as is.
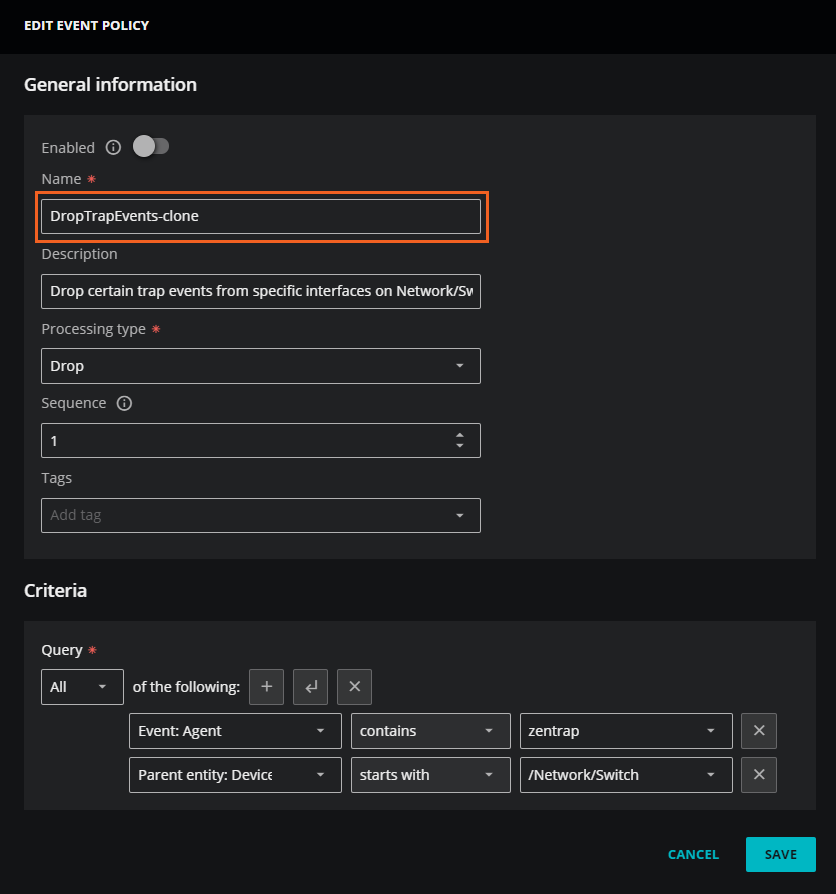
After making your changes, click SAVE.