Organizers
Collection Zones include the following implicit and explicit organizers for categorizing and accessing monitored devices.
Device classes
A device class is an implicit organizer that defines the base set of properties that characterize a group of devices. A device may belong to only one device class.
Templates and configuration properties can be inherited based on device class. These attributes can be overwritten further down the class hierarchy, all the way down to the individual component level. The device class hierarchy includes all defined and standard classes and sub-classes.
The following procedures are illustrated using device classes and sub-classes, but the same concepts apply to event classes, service classes, and product classes. When you add a device to the system, after providing the network name or IP address, specify its device class. Templates and configuration properties can be set at any level in the device class hierarchy.
Viewing device classes
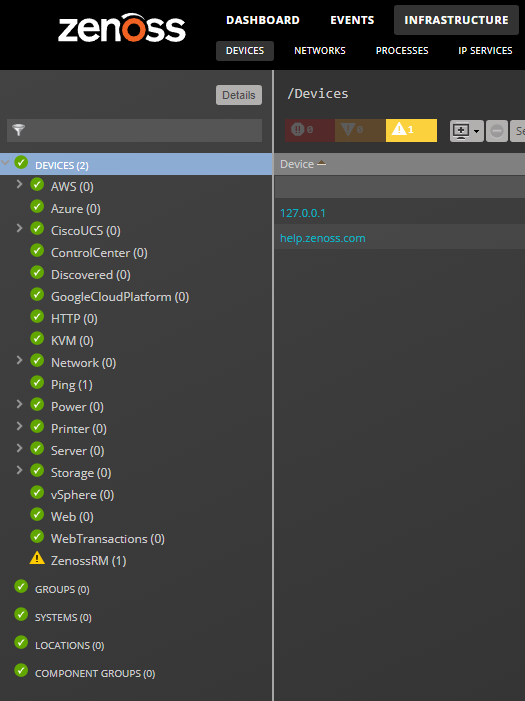
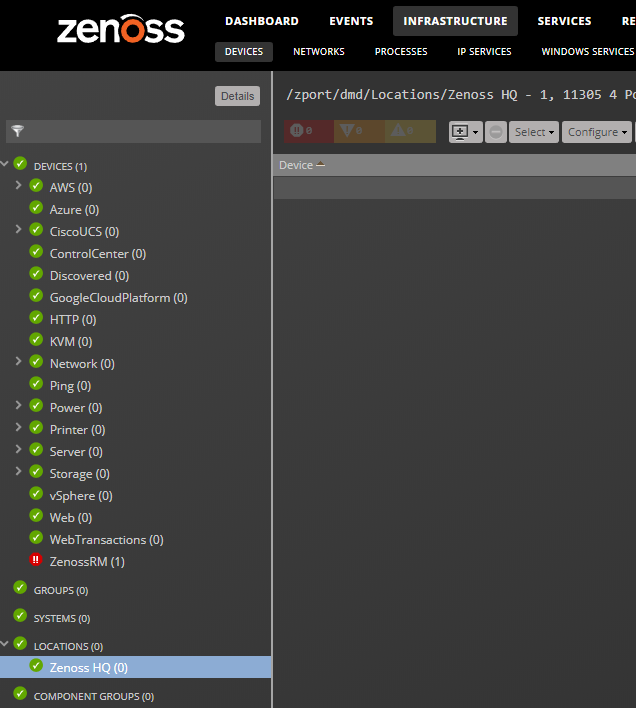
To view device classes and the devices they contain, from the navigation menu, select INFRASTRUCTURE.
At the top level of the device hierarchy are device classes, such as CiscoUCS. To view devices in a class or to expand the organizer to show subclasses, click a name in the tree. Severity indicators show the most severe type of event that is associated with any device in that class.
Adding a device class
-
After you add a device class, you can move devices into the class.
-
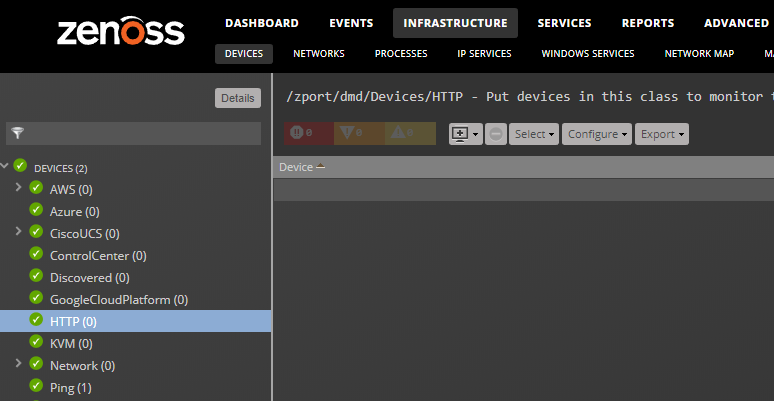
From the navigation menu, choose INFRASTRUCTURE.
-
In the left pane device class hierarchy, choose the parent device class in which to add a child class; for example, HTTP.
-
At the bottom of the left pane, click the Add icon.
-
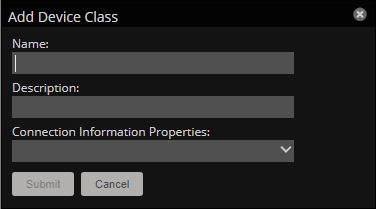
In the Add Device Class dialog box, specify a name and description for the new device class, and then click Submit.
-
Optional: Choose one or more zProperties from the Configuration Information Properties list.
The properties chosen will be available for configuration in the Add Infrastructure dialog. Their values will be available on the device overview pages of devices in this class.
The new device class appears in the hierarchy under the parent device class.
To move devices to the new class, choose the devices in the device list, and then drag them to the new class.
Setting configuration properties at the class level
Definitions are applied to all devices currently in the class and those added to the class (unless overridden at a lower level in the hierarchy).
-
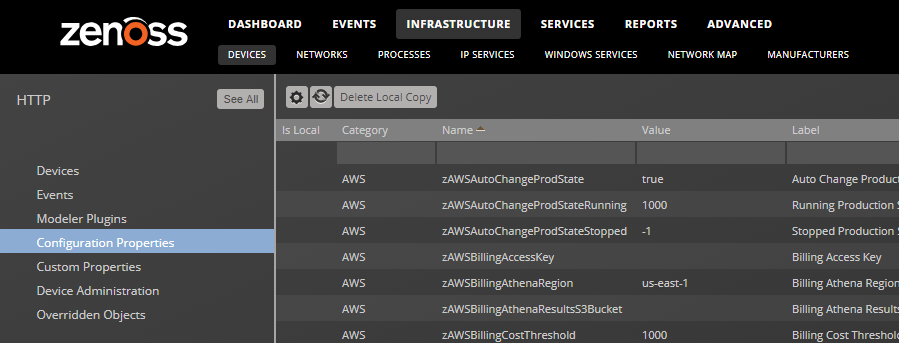
In the left pane device class hierarchy, choose Devices.
-
Click Details > Configuration Properties.
-
In the right pane of the **Configuration Properties double-click a property to edit.

-
In the Edit Config Property dialog box, change definitions.
-
Click SUBMIT.
Removing device classes
In general, removing device classes is a bad idea, as they may contain templates and other valuable objects. Only remove device classes that you have added yourself; do not remove device classes that exist by default or that have been added by ZenPacks.
Groups, Systems, and Locations
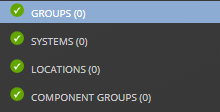
Groups, Systems, and Locations are explicit organizers that enable arbitrary groupings of devices in the Collection Zone interface.
- Groups are functional divisions that allow you to assign attributes to multiple objects with similar functions. Groups can be used, for example, to arrange objects along departmental lines.
- Systems are intended to follow virtual setups, such as those in a network setup or systems grouped by functionality.
- Locations are logical groupings that indicate the physical location of a device. A device can have one location, as general as city and state, or as specific as rack or closet. Locations are used in dashboard map tiles and portlets.
Adding a group, system, or location
To add an organizer:
-
From the navigation menu, choose INFRASTRUCTURE.
-
In the left panel, choose the type of organizer from the hierarchy.
-
In the lower left, click the Add icon.
-
In the Add dialog box, specify a name and description for the organizer.
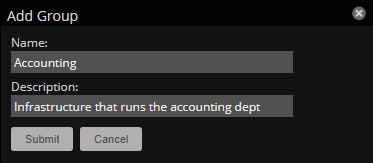
Location organizers support an Address field.
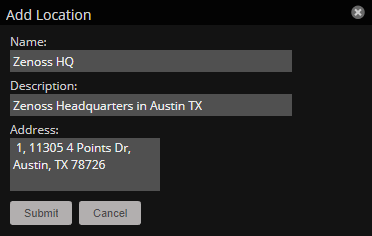
You can specify any information to identify the location in Google Maps. For example a country, state, city, intersection, or latitude and longitude coordinates. For more information, see the Google Maps help.
The new organizer appears in the hierarchy. You can drag-and-drop devices from the device list to the new organizer.
Moving a group, system, or location organizer
To move an organizer:
-
Select the organizer in the hierarchy.
-
Drag the organizer to its new location.
-
In the Move Organizer dialog, click OK.
Location organizers and dashboard tiles
The Virtana Service Observability Map tile displays location organizers in a dashboard's scope on an interactive map provided by Google Maps. In Collection Zones, location organizers are displayed on the organizer's details page and in the Google Maps portlet.
To view the map for a network location in a Collection Zone:
-
From the navigation menu, choose INFRASTRUCTURE.
-
In the left panel, choose the LOCATIONS organizer and then choose a location organizer.
-
Click Details above the device class tree.
-
Select Map.

Network links
If two devices in the same network are in different map-able locations, a line is on the map representing a network connection between the two. If there are multiple separate network connections between the same two locations, only one line is drawn. The color of the line represents the highest severity of any events affecting the connection. These are determined by:
-
A ping down event on the device at either end of the connection.
-
Any event on the interface at either end of the connection.
Drawing map links
Calculating network links on the fly is a time-intensive procedure. If you have a large number of devices that have been assigned locations, drawing those links on the map may take a long time.
To save time, you can tell the system not to attempt to draw links for specific networks. You might want to do this, for example, for a local network comprising many devices that you know does not span multiple locations.
To edit the value for this property:
- From the navigation menu, choose INFRASTRUCTURE > NETWORKS.
- On the Networks page, choose the network or sub-network for which you want to disable map links.
- Display configuration properties for the network.
- Double-click the zDrawMapLinks configuration property in the list.
- In the Edit Config Property dialog box, uncheck the box, and then click Submit.
This setting is inherited by networks or sub-networks below this selection in the hierarchy. If you have few networks for which links would be drawn, you might want to disable map links on /Networks, enabling it only on a network where you know a location-spanning WAN connection exists.
Component groups
Component groups are explicit organizers that enable arbitrary groupings of device components in the Collection Zone interface.
Use component groups to view or manage device component resources as a logical group. When you add device components to a component group, you can view all the events for the group in a single location, display device component graphs with all the device components on the same graph, and use the Dynamic and Dependencies views to see the group's dependents and dependencies. You can also monitor or lock individual device components in the group or the entire group itself.
Creating component groups
To create component groups:
-
Navigate to INFRASTRUCTURE > DEVICES.
-
Select COMPONENT GROUPS, then click the Add icon at the bottom of the page.
-
In the Add Component Group dialog box, enter values for the Name and (optional) Description fields, then click SUBMIT.
The new component group appears under COMPONENT GROUPS.
-
Under COMPONENT GROUPS at the top of the page, click the Add icon to open the Add to Component Group dialog.
-
In the dialog's search field, enter a component type, such as Blade Servers.
A list of components appears in the Search Results table.
-
Select one or more components, then click ADD.
-
Continue to search for and add components or click CLOSE.
The components are added to the group.
Viewing component group information
To view information about component groups:
-
Navigate to INFRASTRUCTURE > DEVICES.
-
Select COMPONENT GROUPS.
-
Highlight a group and click Details at the top of the page.
-
Click Component Graphs, then check All on Same Graph.
Note: When using the All on Same Graph functionality, ensure that no more than 10 items are being displayed on the same graph for best usability.
-
To view events for the component group, click EVENTS.
-
To disable monitoring on one or more components:
- Select the components you want to disable.
- Click Action > Monitoring.
- Click NO to disable monitoring.